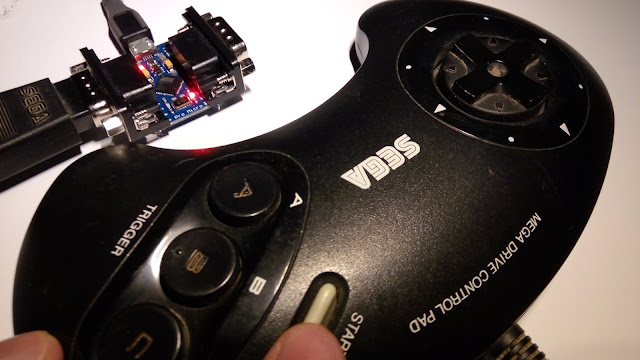
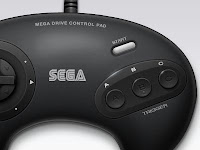
Today I decide to focus on how to reuse your old Mega Drive Gamepad and/or Arcade Power Stick as an USB device, on your PC, Android device or on you Raspberry/Orange Pi.

If you are not familiar whit my blog, I'm working on a project to rebuild my friend's old Mega Drive to a new state of the art console using, of course, the latests Pi's version.
 First of all, I will focus on the oldest Mega Drive gamepads, but this project is also compatible whit any of the 3 button or 6 button version.
I recommend if you want a DIY approach, you need to have some soldering skills, otherwise, I also have a solution for you here.
 This idea started many years ago, but only with the fast grown of the Arduino devices, this turns to be a fast-to-do possibility and do not require some really hard electronic and coding skills.
This project born after I meet Jarno, a very cool Finnish guy that publish on the RetroOrangePi Facebook Group his latest "project", an serial to USB converter, compatible with the Sega Mega Drive game pads and many others. After I saw his job, I gave him the idea to create a project on Git Hub, and the result is here: Arduino-USB-HID-RetroJoystickAdapter.
So, to start your project, this are the hardware you are going to need:
Atmega32u4 (e.g. Arduino Leonardo).
Don't forget to buy this as fast as possible, because it takes quite a bit from China to your home. After you have all the hardware, this are the schematics I designed to build my adapter.
Now it's time to get you soldering iron and gather a lot of patience. I suggest, if you have some RJ45/CAT5e/network cable, to cut a bit, like 10cm-15cm to use them as small cables like you see bellow.
As you can see, I solded the back pins directly to the ATMega, facilitating all the process. The rest of the pins was sold using parts of the network cable. Try to use some colours to keep tracking your work.
Now it's time to code. You are going need this tings:
The initial step is get the latest Arduino IDE from here and install it. Next, grab the zip file of the ArduinoJoystickLibrary, clicking on the "Clone or download" green button and place it on
%HOMEPATH%\Documents\Arduino\libraries (Windows). One of the most important things is to change already the VID/PID so Windows and Linux works without drivers or quirks. If Arduino IDE is open, close it now and you should edit
C:\Program Files (x86)\Arduino\hardware\arduino\avr\boards.txt # leonardo.build.vid=0x2341
# leonardo.build.pid=0x8036
leonardo.build.vid=0x8282
leonardo.build.pid=0x3201
# leonardo.build.usb_product="Arduino Leonardo"
leonardo.build.usb_product="Retro Joystick Adapter"
Now, open your Arduino IDE and define this on the menu:
Tools->Board->Arduino Leonardo. This will define Arduino IDE to work with the Atmega32u4.Connect your ATmega32u4 through any USB port available, the RX and TX leds should blink (if not, try another USB port).
Now its time to define the port though
Tools->Port->COMx. Arduino IDE shows available COM-ports. In most cases it's biggest numbered COM-port. COM-port number can change when you start to upload program first time (COM-port number can be different after joystick-features are enabled). If this happens, just change COM-port and start upload again In Windows environment, do not use any USB HUB, it may interfere with the communication with ATmega32u4 board.Now load the RetroJoystickAdapter.ino script, clicking on Open and select the file you downloaded. Edit the file, comment the previous lines and uncommenting for this case the code, like this:
// if you use two DB9 connectors solded back to back on your ATmega32u4, you should use this inputs
const uint8_t inputPinsPort1[] = { 2, 3, 4, 5, 6, 7, 8, 0, 9};
const uint8_t inputPinsPort2[] = {15, A0, A1, A2, A3, 14, 16, 0, 10};
Now it's time to press Upload, and if you got the message "all done" and no errors, your done here.
And this is the final product:
For any additional comments/doubts, you should review Arduino-USB-HID-RetroJoystickAdapter.
See you soon!


Comments
Post a Comment